Hello everyone!!
Thank you for your kind comments about my look back at 2017!!!
Up until now I have been on a sewing break so that I could prep and plan for 2018. I like to take the end of the year and use it as a moment to pause and reflect. The end of 2017 found me thinking about how well my sewing space has served me for the year. Did it inspire me to be more productive? Did I have the tools I needed to enhance my sewing journey? Was there something I didn't use, or could have made better use of? In essence, how can I improve for the future?
Maybe you ponder those same things! Or, maybe you wandered away from your sewing mojo/path, and want to dive back in. Well, today is a great post for you because I will be sharing some of the things I found helpful, as well as linking some tools I found and want to try myself. And better yet, these are all things you can do at MINIMAL COST!
Sewing Project Planner
Personally, I like to organize projects that I am working on in a binder. Last year around this time I created a small binder with beautiful planner worksheets to keep a log of my projects:
You can find the planner worksheets I used
here. This site also includes FREE printables for fabric or notions inventory (which I need). There are a few different color options for download at the bottom of the page too!
So, anyhow, I used the sewing worksheet planner quite frequently for the first half of the year, and then forgot about them. It is my fault because I was so busy with projects that I didn't feel like taking the five minutes to write out the details. But, I will say that the sheets helped me to record notes pertinent to my project. Because, to be honest, once I have completed a garment, I tend to forget what I did (even when writing my review, lol).
So, I will definitely get back to using these again.
Now, I also had an AMAZING planner that I used for last year. The only thing is, it wasn't too helpful for planning out my sewing. I think that had a lot to do with the fact that I used it for
planning my whole life too. This year I am trying to have a
separate planner just for sewing, while keeping my life appointments and details on a calendar app.
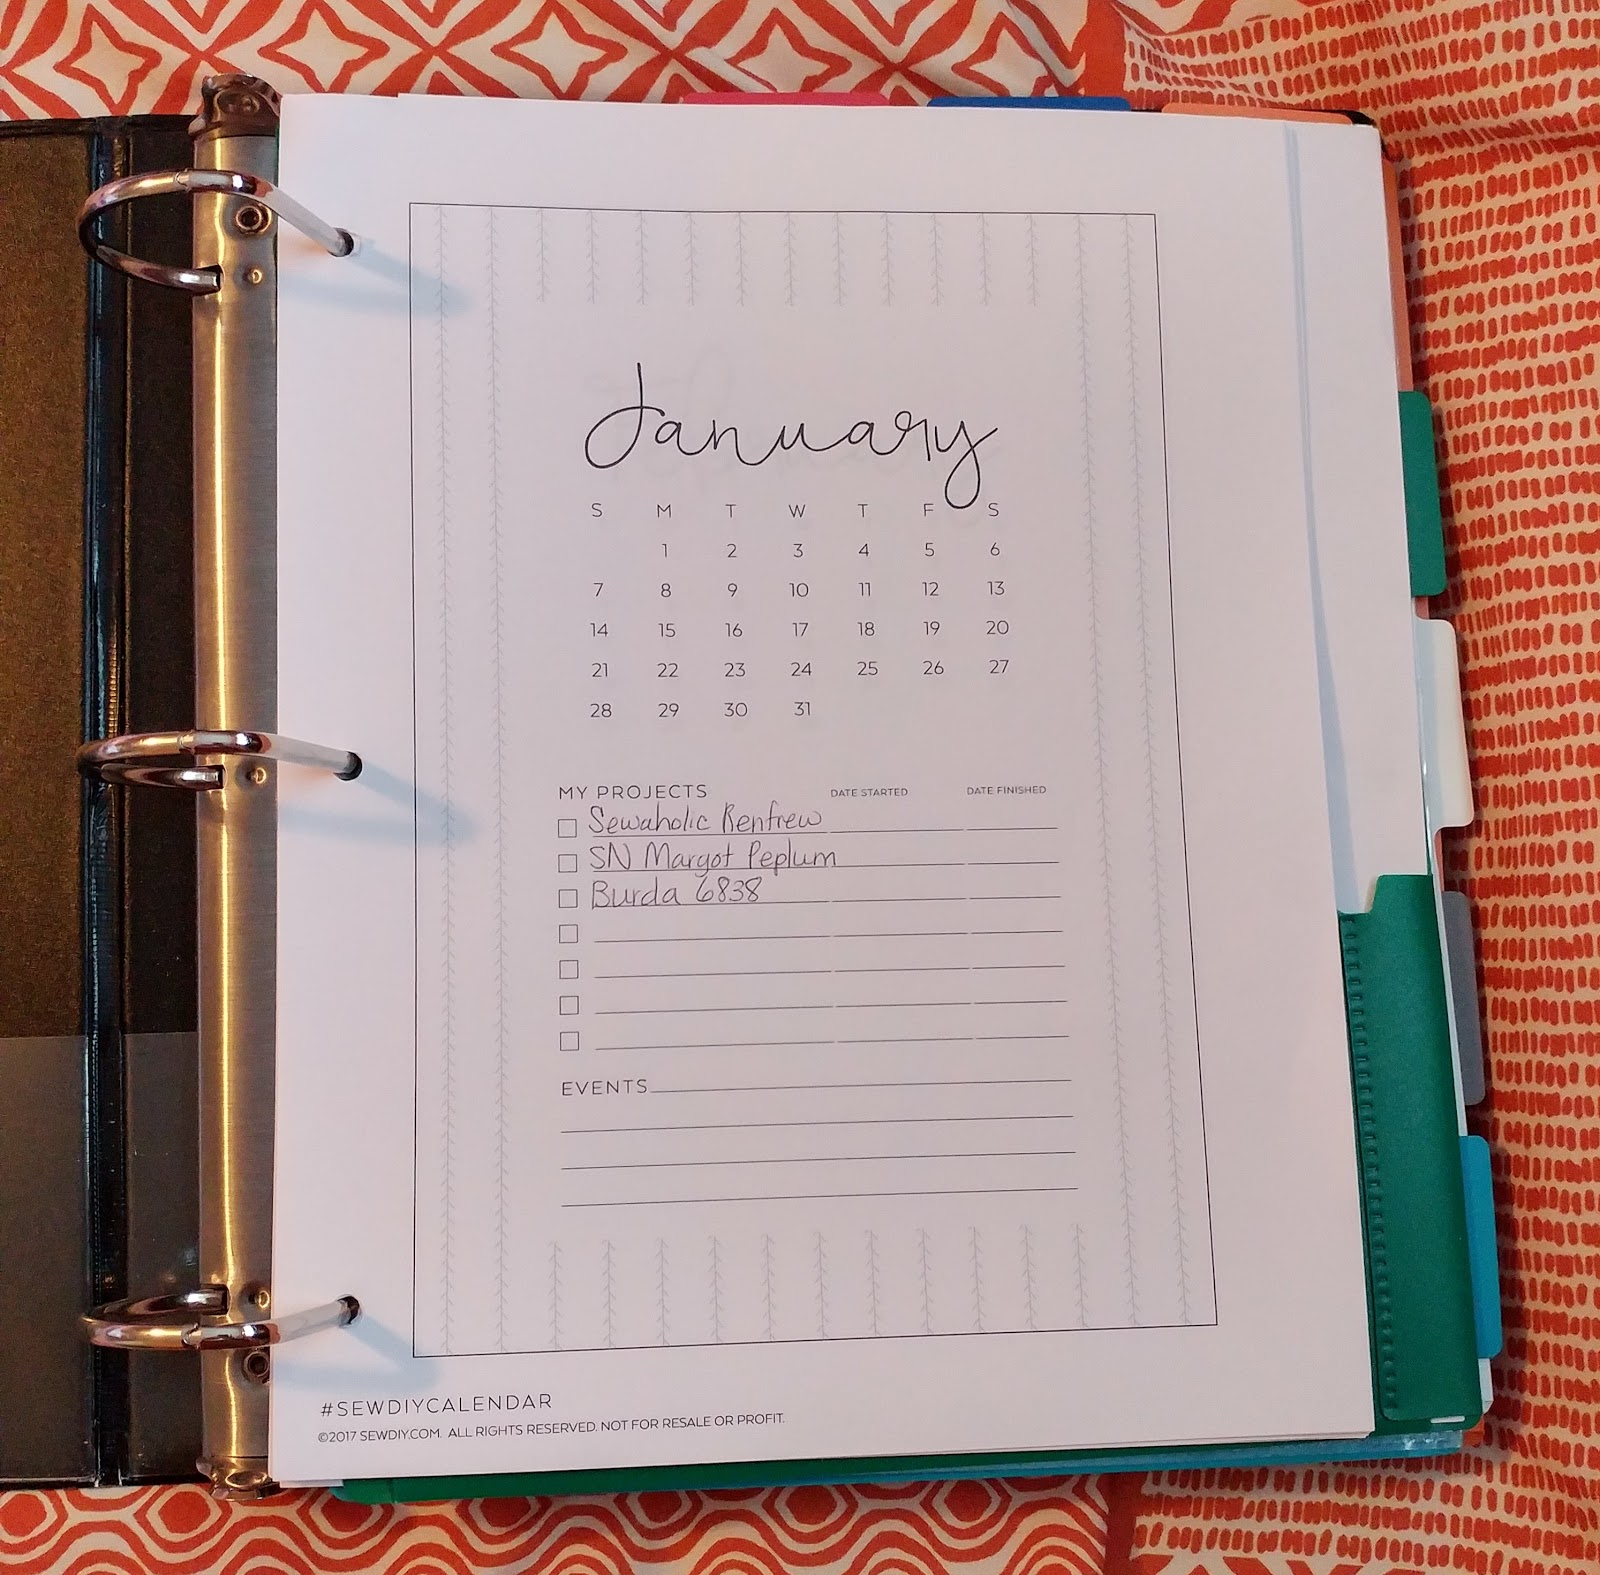
To help do so, I found this simple yet LOVELY
printable sewing calendar from SEW DIY:
 |
| Already getting started! |
I love that you can write down your sewing goals for the month, create a start date, and then check off the box and write an end date when you finish. These will go in the front of my binder to keep me on task each month.
Since I am participating in the
Ready To Wear Fast this year, I am going to try sewing for the seasons by creating capsule wardrobes. I figure this can make good use of pieces I already have in my wardrobe, while also creating things that will be cohesive. It will take some focus to stay on task, but I think the results will be worth it.
 |
| Organized sewing all in one binder |
So, I am using a 3" binder my oldest son no longer needed for school in order to organize the plans I have for each season. For the Fall/Winter plan I revealed in a
previous post, I copied all the patterns, as well as the color scheme, and printed it all out as a visual until I finish. It helped to pull my sheet out and coordinate my chosen fabrics with selected patterns. I will consider this method a win if I can at least get most of my outfits to go together.
Now, if you are looking for a similar sewing planner method, you can use the links I mentioned above, or check out another
FREE planner from Colette here. This one is a Collection planner that takes you from concept to design. I love the area to sketch, and the section about what inspired the item you are making. All you do is fill in your email address, and you can download the planner.
Idea for Pattern Storage
I have seen some wonderful ideas for storing patterns. But personally, I like to store them the way they do in the store. I have a HUGE binder, a package of tab dividers, and a stack of protector sheets. This houses all of my pattern envelopes, and has tabs to differentiate the different categories.

The contents of the pattern envelopes are put into a storage container. I found some nice inexpensive ones in Target. Walmart has some too. I easily fit the contents into a gallon size Ziplock bag, label the outside, then organize them chronologically. Since I am running out of space in my sewing closet, you can see why I don't buy a lot of patterns, lol!
 |
| This is the first of two sets of drawers |
 |
| Patterns in order |
 |
| Easy to find! |
For magazines, I saw a wonderful idea on
Dressmaking Debacles' blog. She put copies of the line drawings from her Burda magazine into a binder!! Genius! I have been wanting to make use of my Burda magazines this year, but get annoyed when I have to pull them out and put them away again. Now I can see what I have, and only pull what is necessary. I have already copied the line drawings from my stack of Burdas, labeled them, and placed them inside the binder for all my patterns. Easy peasy! Thanks Nakisha!
 |
| So excited to have Burda line drawings in one place! |
Now PDF pattern storage is a tricky one! Why? The paper is so thick, and does not easily fold or lay flat for you like the thin recycled pattern paper. So, this is what I do for now. My neighbor recommended this to me, and it has worked so far. For the PDF instructions and information, I put those into a folder with the pattern photo on the front.
 |
| Front of Folder with PDF pic |
 |
| Inside with PDF instructions |
For the actual pattern I printed out, I punch a hole in the pattern pieces, tie a string around it, then hang the pieces on a hanger. You can also use a binder clip to hold all the PDFs together without punching a hole in them. Needless to say, if the PDF pattern DID NOT work for me, I usually throw it out (recycle). I only keep what works because it takes up more space to have PDFs.
Sewing Productivity
So what are some tips to help increase the likelihood that you will sew, and get a project finished? Just so you know, I am still a slow sewer, but I have found some extremely awesome things that help keep my sewing mojo ongoing:
- Have a cutting day!!!! Choose your patterns for the month, then choose a day to cut everything out (pattern pieces, make adjustments, cut out fabric). I find this so helpful because I know I will not have to do any more cutting once this is done.
- Put it in a bin!! Place all of your pattern pieces, materials, thread, notions, etc. in a bin for those free moments you can sew. As a busy mom, I have my bins ready, and when my son takes his nap, I grab a bin and GO! There are inexpensive bins at dollar tree and Walmart that you can buy to suit the size of your project.
- Sew Simple! Seriously, this tip has been pivotal for me because I would always put all of these more challenging garments in my queue, get frustrated, and take a LONG break, lol! Who said easy wins aren't wonderful? I say easy wins are necessary! They keep you encouraged, ESPECIALLY after you have completed a difficult project. At the end of the day, a handmade garment is a handmade garment--whether it was an easy sew or not (wink, wink).
- Sew with a friend! If you have a friend who sews, get together! It is not only fun, you can bring your projects and get feedback if you need it. My sew days happen every other month or so. We block out about four hours, bring breakfast, talk/laugh, and work on all kinds of things. Nothing puts you in a better mood, and brings your sewing mojo back like a sewing session with friends!
- Find Inspiration! I get it--sometimes you CAN'T sew! Maybe you are sick, or out of town, or your sewing machine is being repaired. Well, for times like these, don't stop dreaming! There were lots of rough seasons after my son was born where I did not have the time to sew. In those times I watched Youtube videos, read articles on techniques I wanted to learn, pinned items from Pinterest, and perused sewing magazines. In essence, I did what I could until the time came that I was able to sit down and sew.
- Create a routine! While I enjoy naptime sewing, my true routine is the quiet hours that happen after all my kids are in bed. I will usually brew some tea, light a fragrant candle, have a light snack (like popcorn), and sit and sew. It is so relaxing! I can almost smell the candle each time I sit to create something new. You will be surprised how a simple routine can get you in the mood to create.
 |
| Use a bin, baggy, or container to neatly store all your in-progress projects |
I hope you enjoyed all my tips and tricks to get you sewing in this New Year! If you have any tips to share with me I would LOVE to hear them! Let's all grow together!
When it comes down to it...."do it anyway." Because, to be honest, the time will pass. And at the end of this year, do you really want to be in the same place?
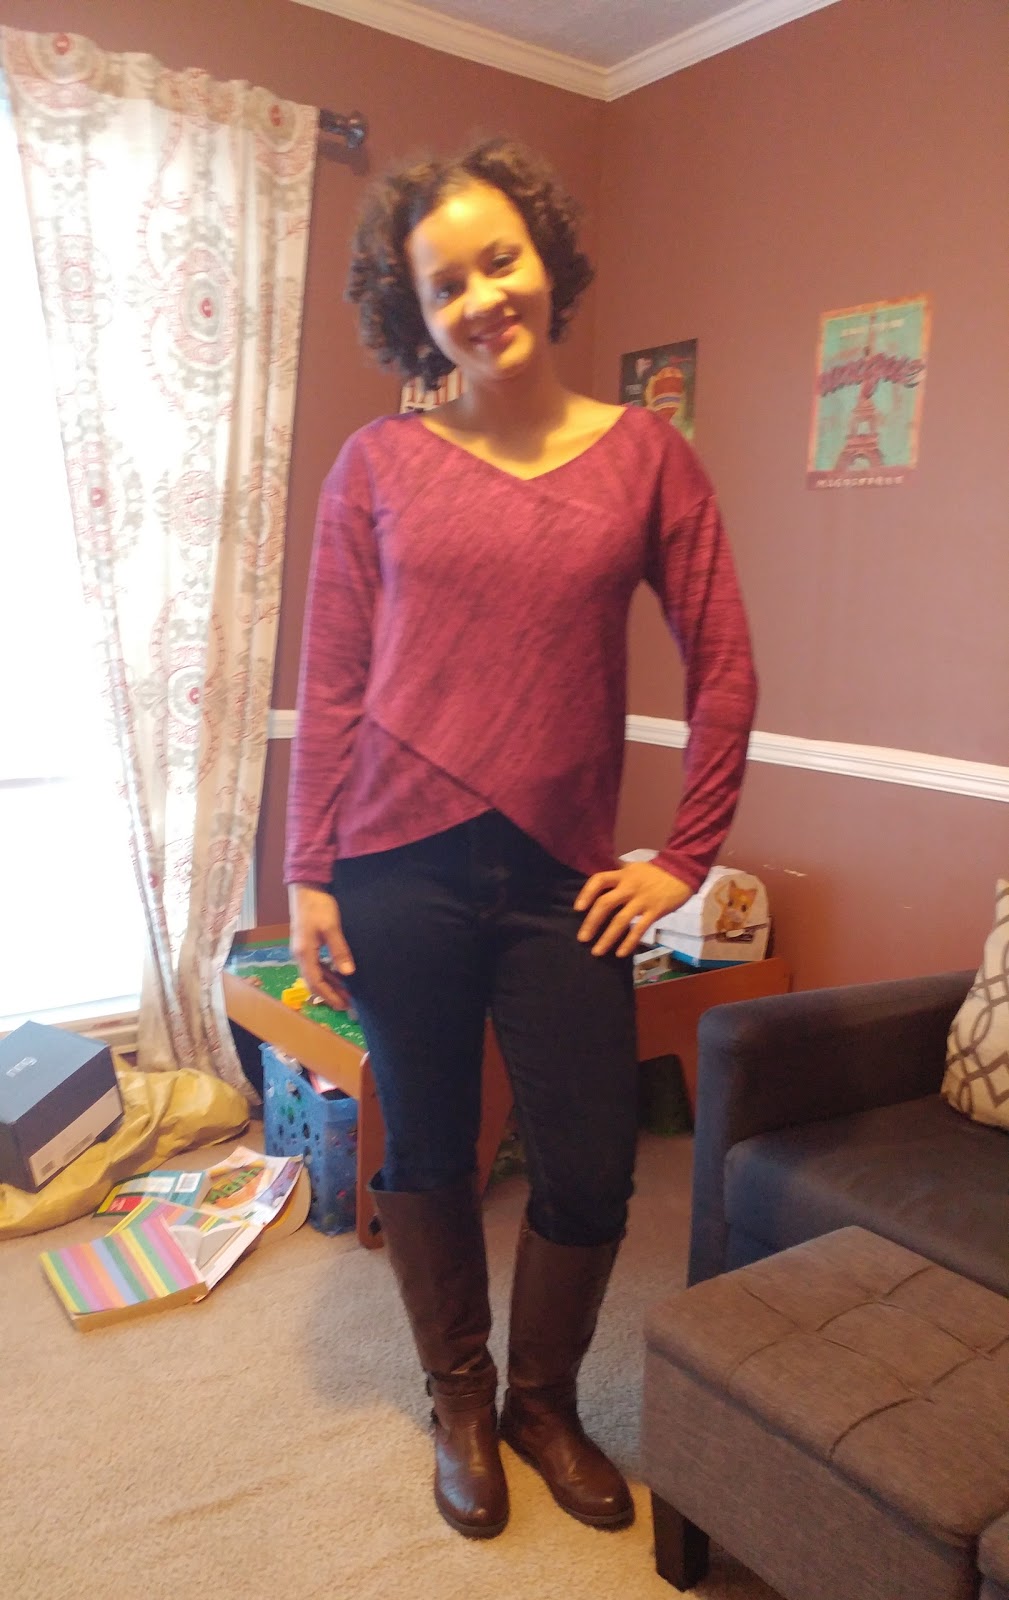
I will check back with you early next week, and hope to share my first finished wardrobe item. I have been off to a rough start (the Love Notions peplum did not work out, and I will be subbing that one out) but I won't give up easily. At least my organized binders make me feel good, lol!
Stay sew-filled!